Customizing a Framer Project via Remix Link

Framer

Customizing a Framer Project via Remix Link

Framer

Customizing a Framer Project via Remix Link

Framer

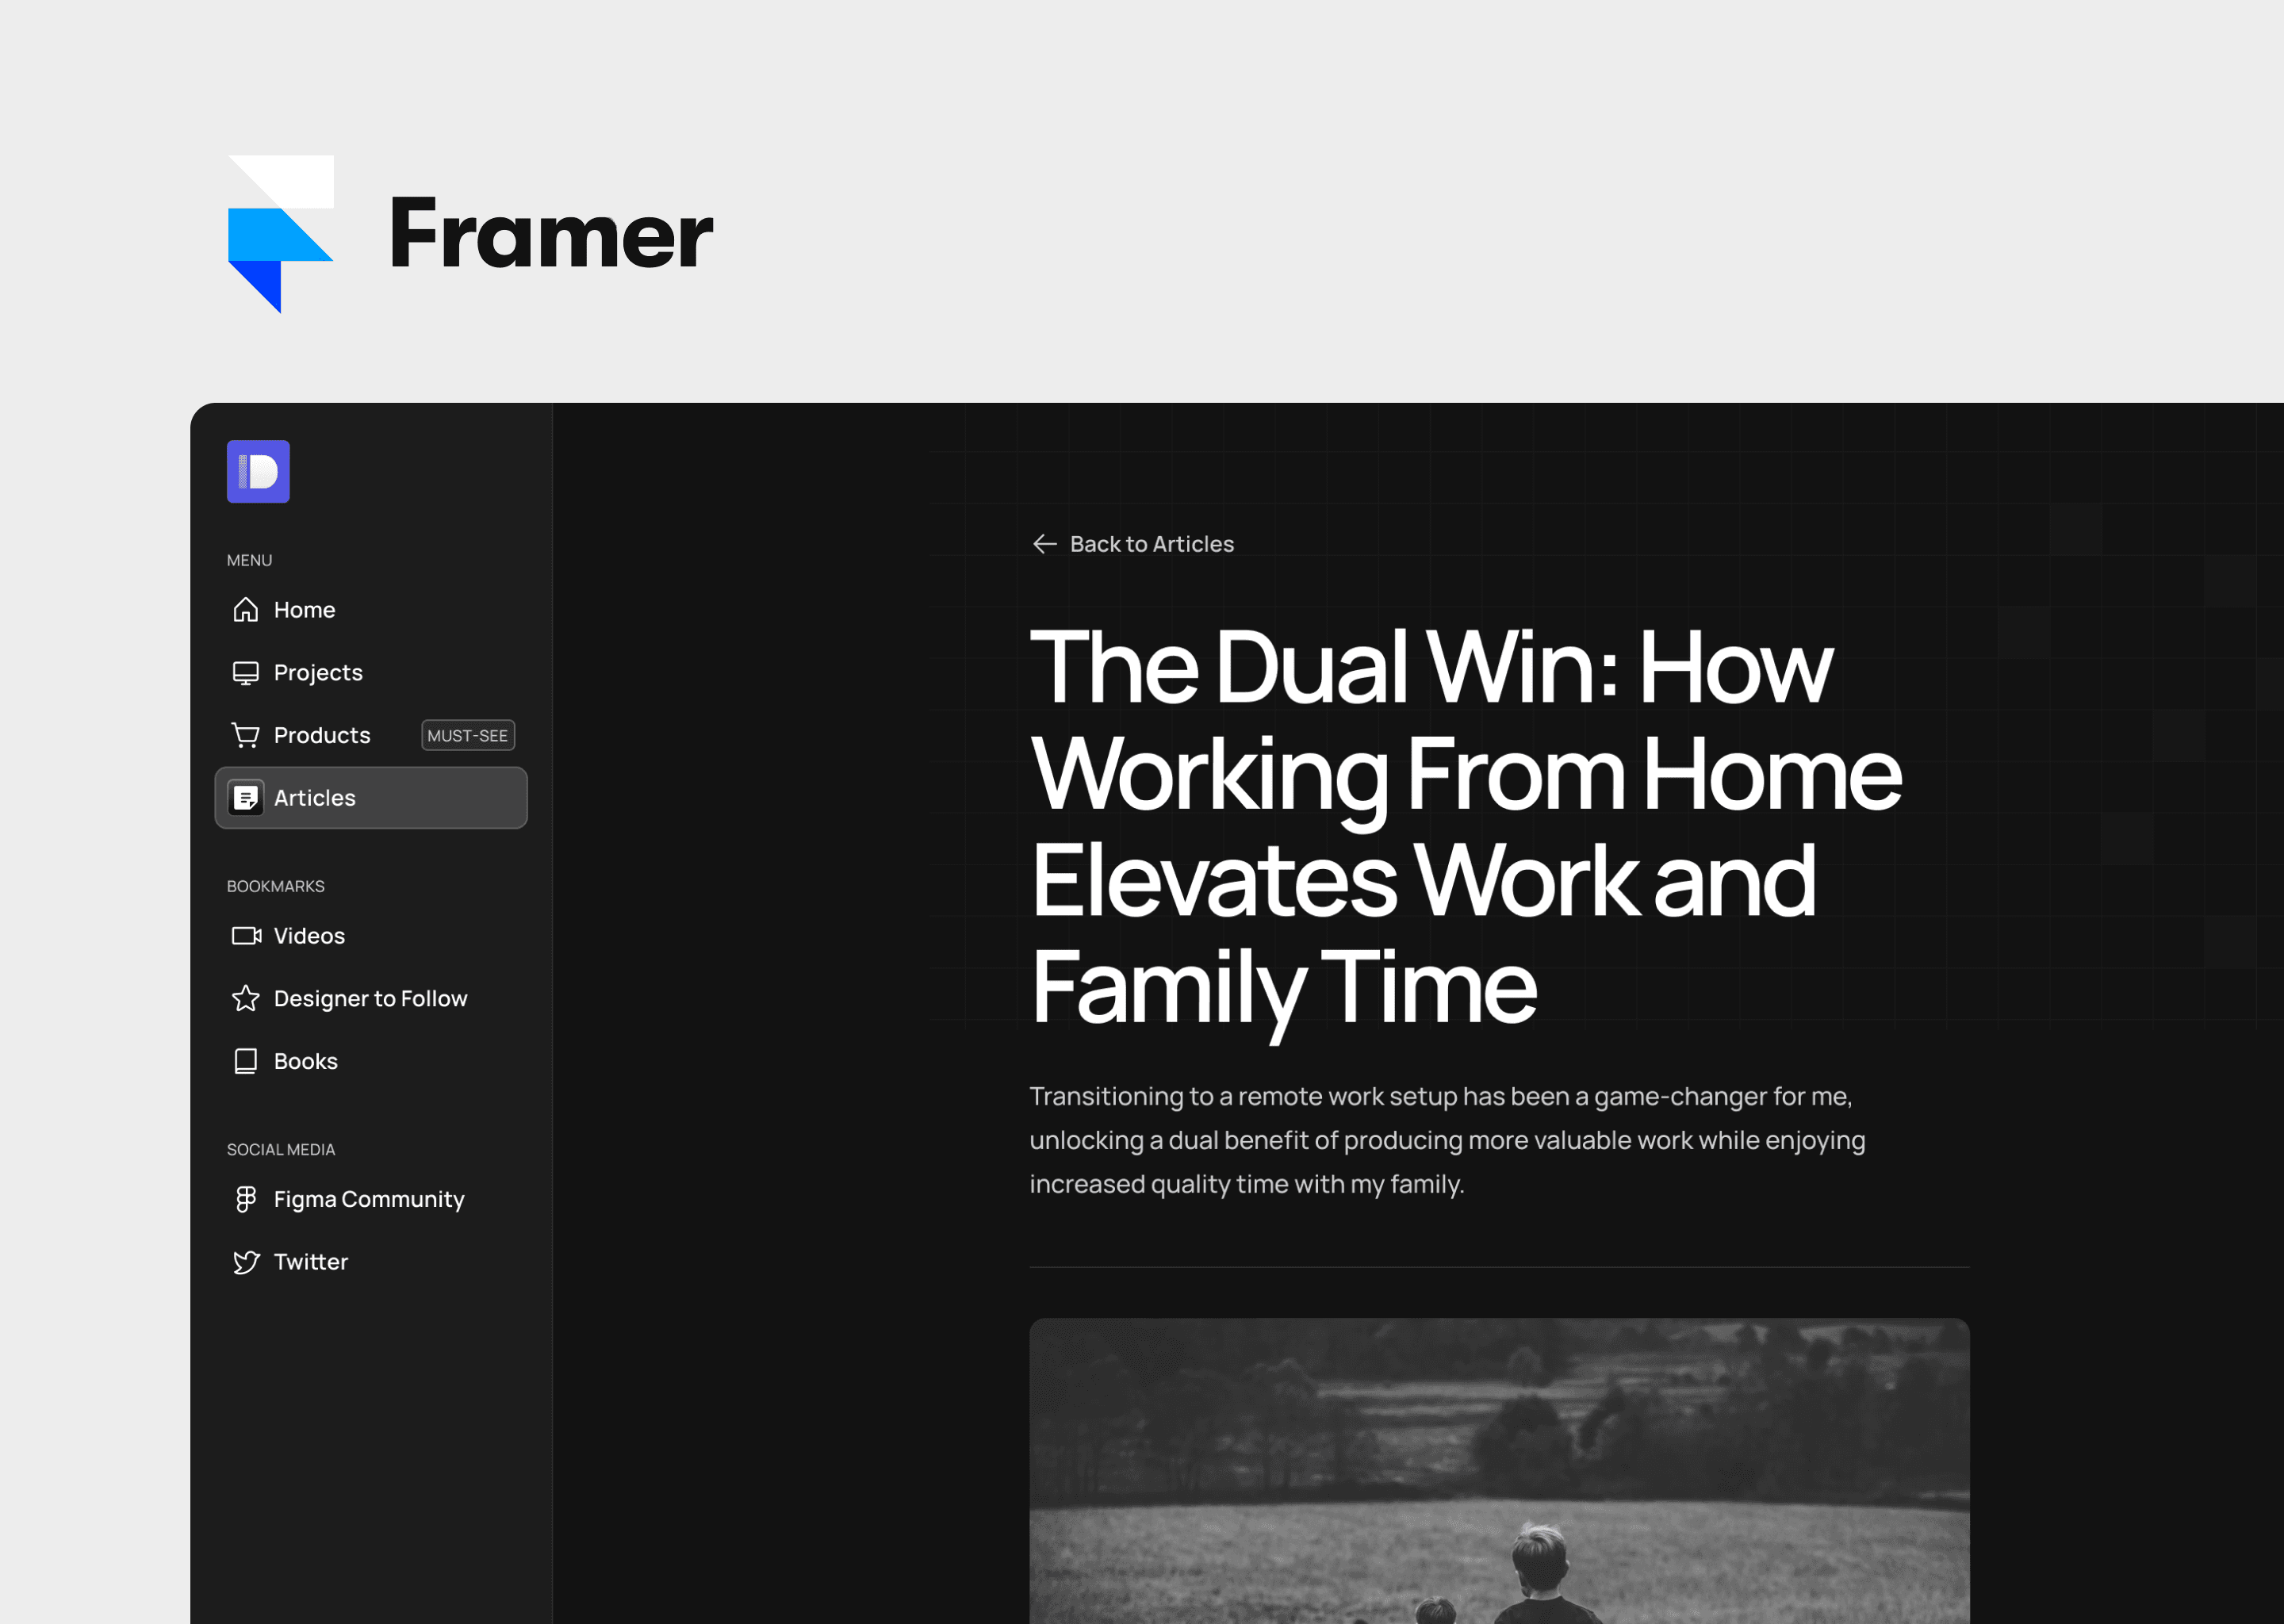
Preview of Dashbar Framer Template

Framer's Remix Link feature is a game-changer for collaborative design. It allows designers to share their projects in a way that others can view and customize them directly in their browser.

Framer's Remix Link feature is a game-changer for collaborative design. It allows designers to share their projects in a way that others can view and customize them directly in their browser. This is perfect for teams, clients, or community members who want to tweak and personalize a shared design. In this tutorial, we'll guide you through the process of using a Framer Remix Link you received and making basic customizations to the project.


1. Introduction to Framer Remix Link

Framer Remix Link enables seamless sharing and editing of Framer projects. When you receive a Remix Link, you can open the project in your browser, make a copy, and customize it as if it were your own.

Why Use Remix Links?

  • Easy Sharing: Share designs with anyone without needing them to install Framer.

  • Real-time Customization: Make live edits and see changes instantly.

  • Collaboration: Perfect for feedback loops, team projects, or community engagement.


2. Accessing a Framer Project via Remix Link

Step-by-Step Guide

  1. Open the Remix Link:

    • Click on the Framer Remix Link provided by the original creator. It typically looks like this: https://framer.com/projects/your-project-link.

  2. View the Project:

    • The link will open in your web browser, displaying the Framer project. You can explore the design and interact with its elements.

  3. Create Your Remix:

    • Look for the "Remix" button (usually at the top-right corner). Click it to create a copy of the project that you can edit.

  4. Log in or Sign up:

    • You might need to log in to your Framer account or create a free account if you don’t have one.


3. Making Basic Customizations

Once you have your remix ready, you can start making customizations. Let’s go through some fundamental changes you can make: altering text, adjusting colors, and modifying layouts.

Changing Text

  1. Select the Text Element:

    • Click on any text element in the design. The text editing toolbar will appear, allowing you to make changes.

  2. Edit the Text:

    • Type directly to replace the existing text.

    • Use the toolbar to adjust font, size, style, and alignment.

Adjusting Colors

  1. Select an Element:

    • Click on the element you want to recolor (e.g., buttons, backgrounds, icons).

  2. Open the Style Panel:

    • The Style panel on the right side of the screen will display the color settings for the selected element.

  3. Change the Color:

    • Click on the color swatch to bring up the color picker.

    • Choose a new color from the palette or input a specific color code.

Modifying Layouts

  1. Select the Element or Group:

    • Click on the element or a group of elements that you want to move or resize.

  2. Resize the Element:

    • Drag the corners or edges to adjust the size.

    • Use the handles to maintain proportions or freeform scale.

  3. Reposition Elements:

    • Drag the element to a new position within the canvas.

    • Utilize alignment guides to help align with other elements.


4. Publishing and Sharing Your Customizations

After making your customizations, you might want to share your version or save it for future use. Here’s how to do that:

  1. Publish Your Remix:

    • Click on the "Share" button in the top-right corner.

    • Select "Publish" from the dropdown menu.

  2. Get Your Link:

    • Framer will generate a new link for your customized project.

    • Copy this link and share it with others to showcase your custom version or enable them to remix it further.


5. Best Practices for Customizing Shared Projects

  • Understand the Original Design: Take time to explore and understand the original project before making changes.

  • Maintain Design Consistency: Ensure that your customizations align with the overall style and purpose of the design.

  • Use Naming Conventions: Rename elements and layers to keep your project organized, especially when adding new components.

  • Save Incrementally: Save your work in stages to easily revert if needed.


6. Conclusion

Using Framer's Remix Link is a powerful way to collaborate and personalize shared design projects. Whether you're changing text, tweaking colors, or adjusting layouts, Framer provides intuitive tools to make customization easy. By following this tutorial, you’ll be well-equipped to remix and refine designs shared with you, contributing your unique touch and enhancing your collaborative efforts.

Other Tutorial

Other Tutorial