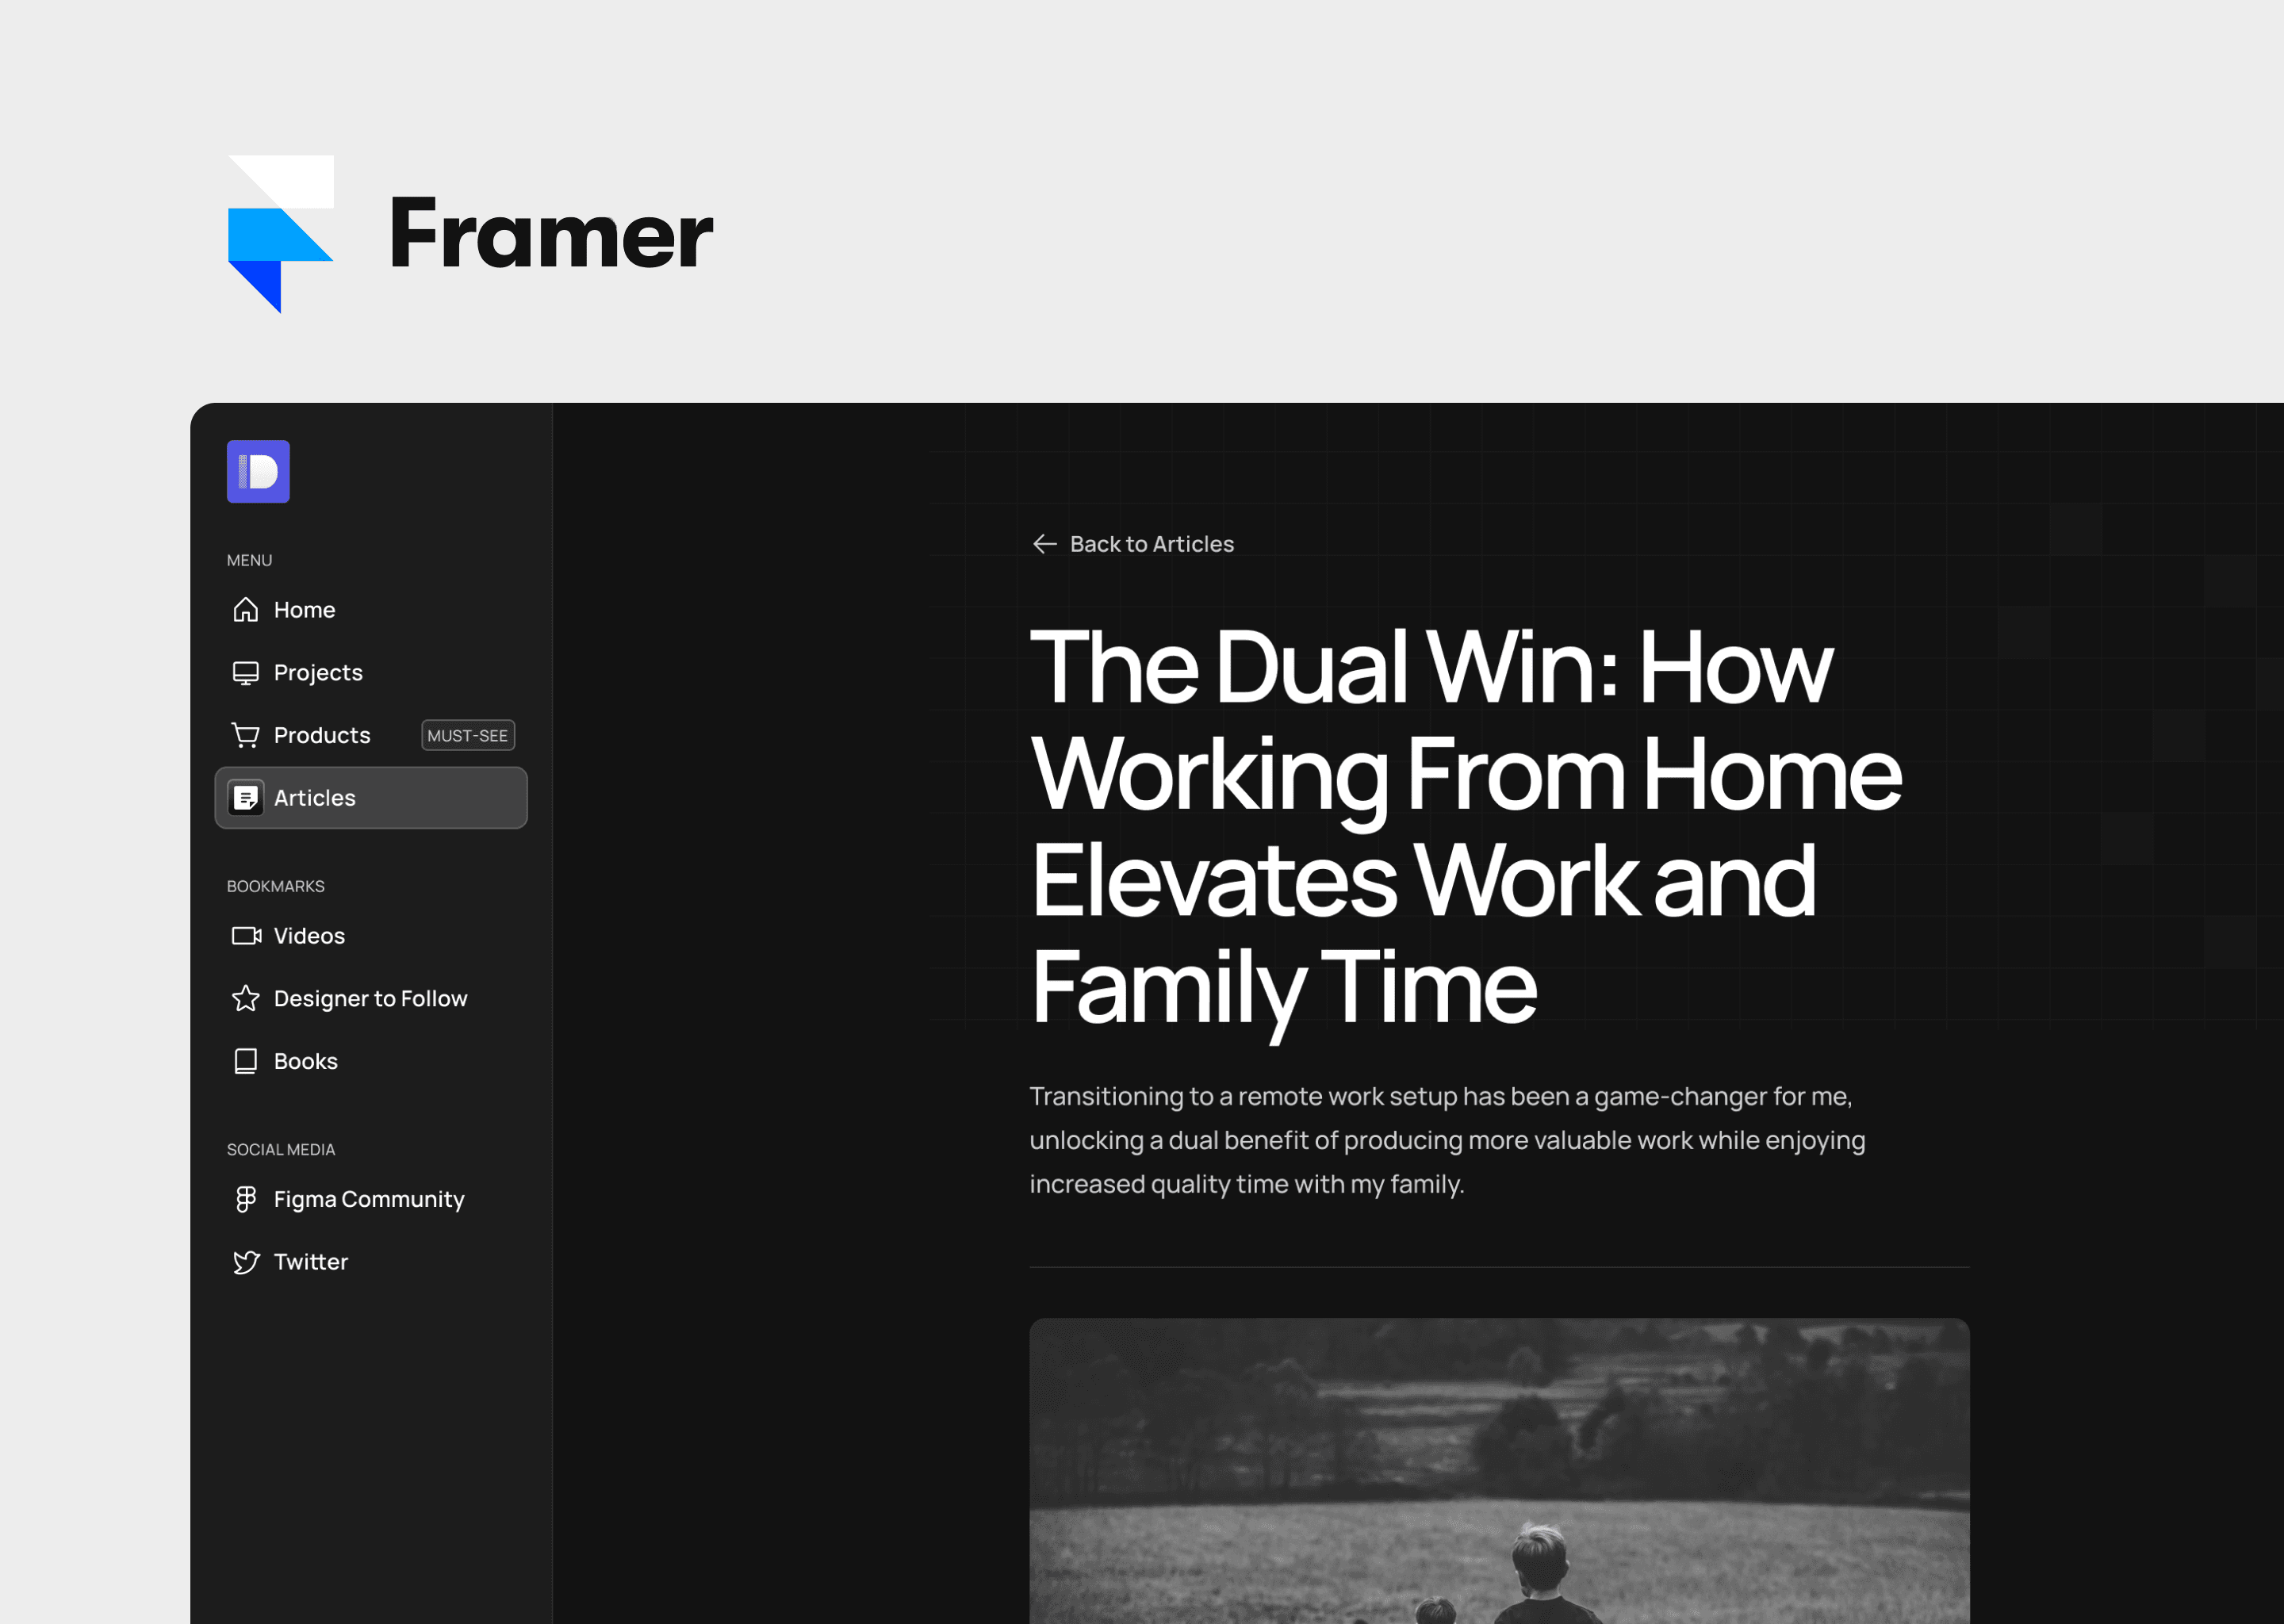
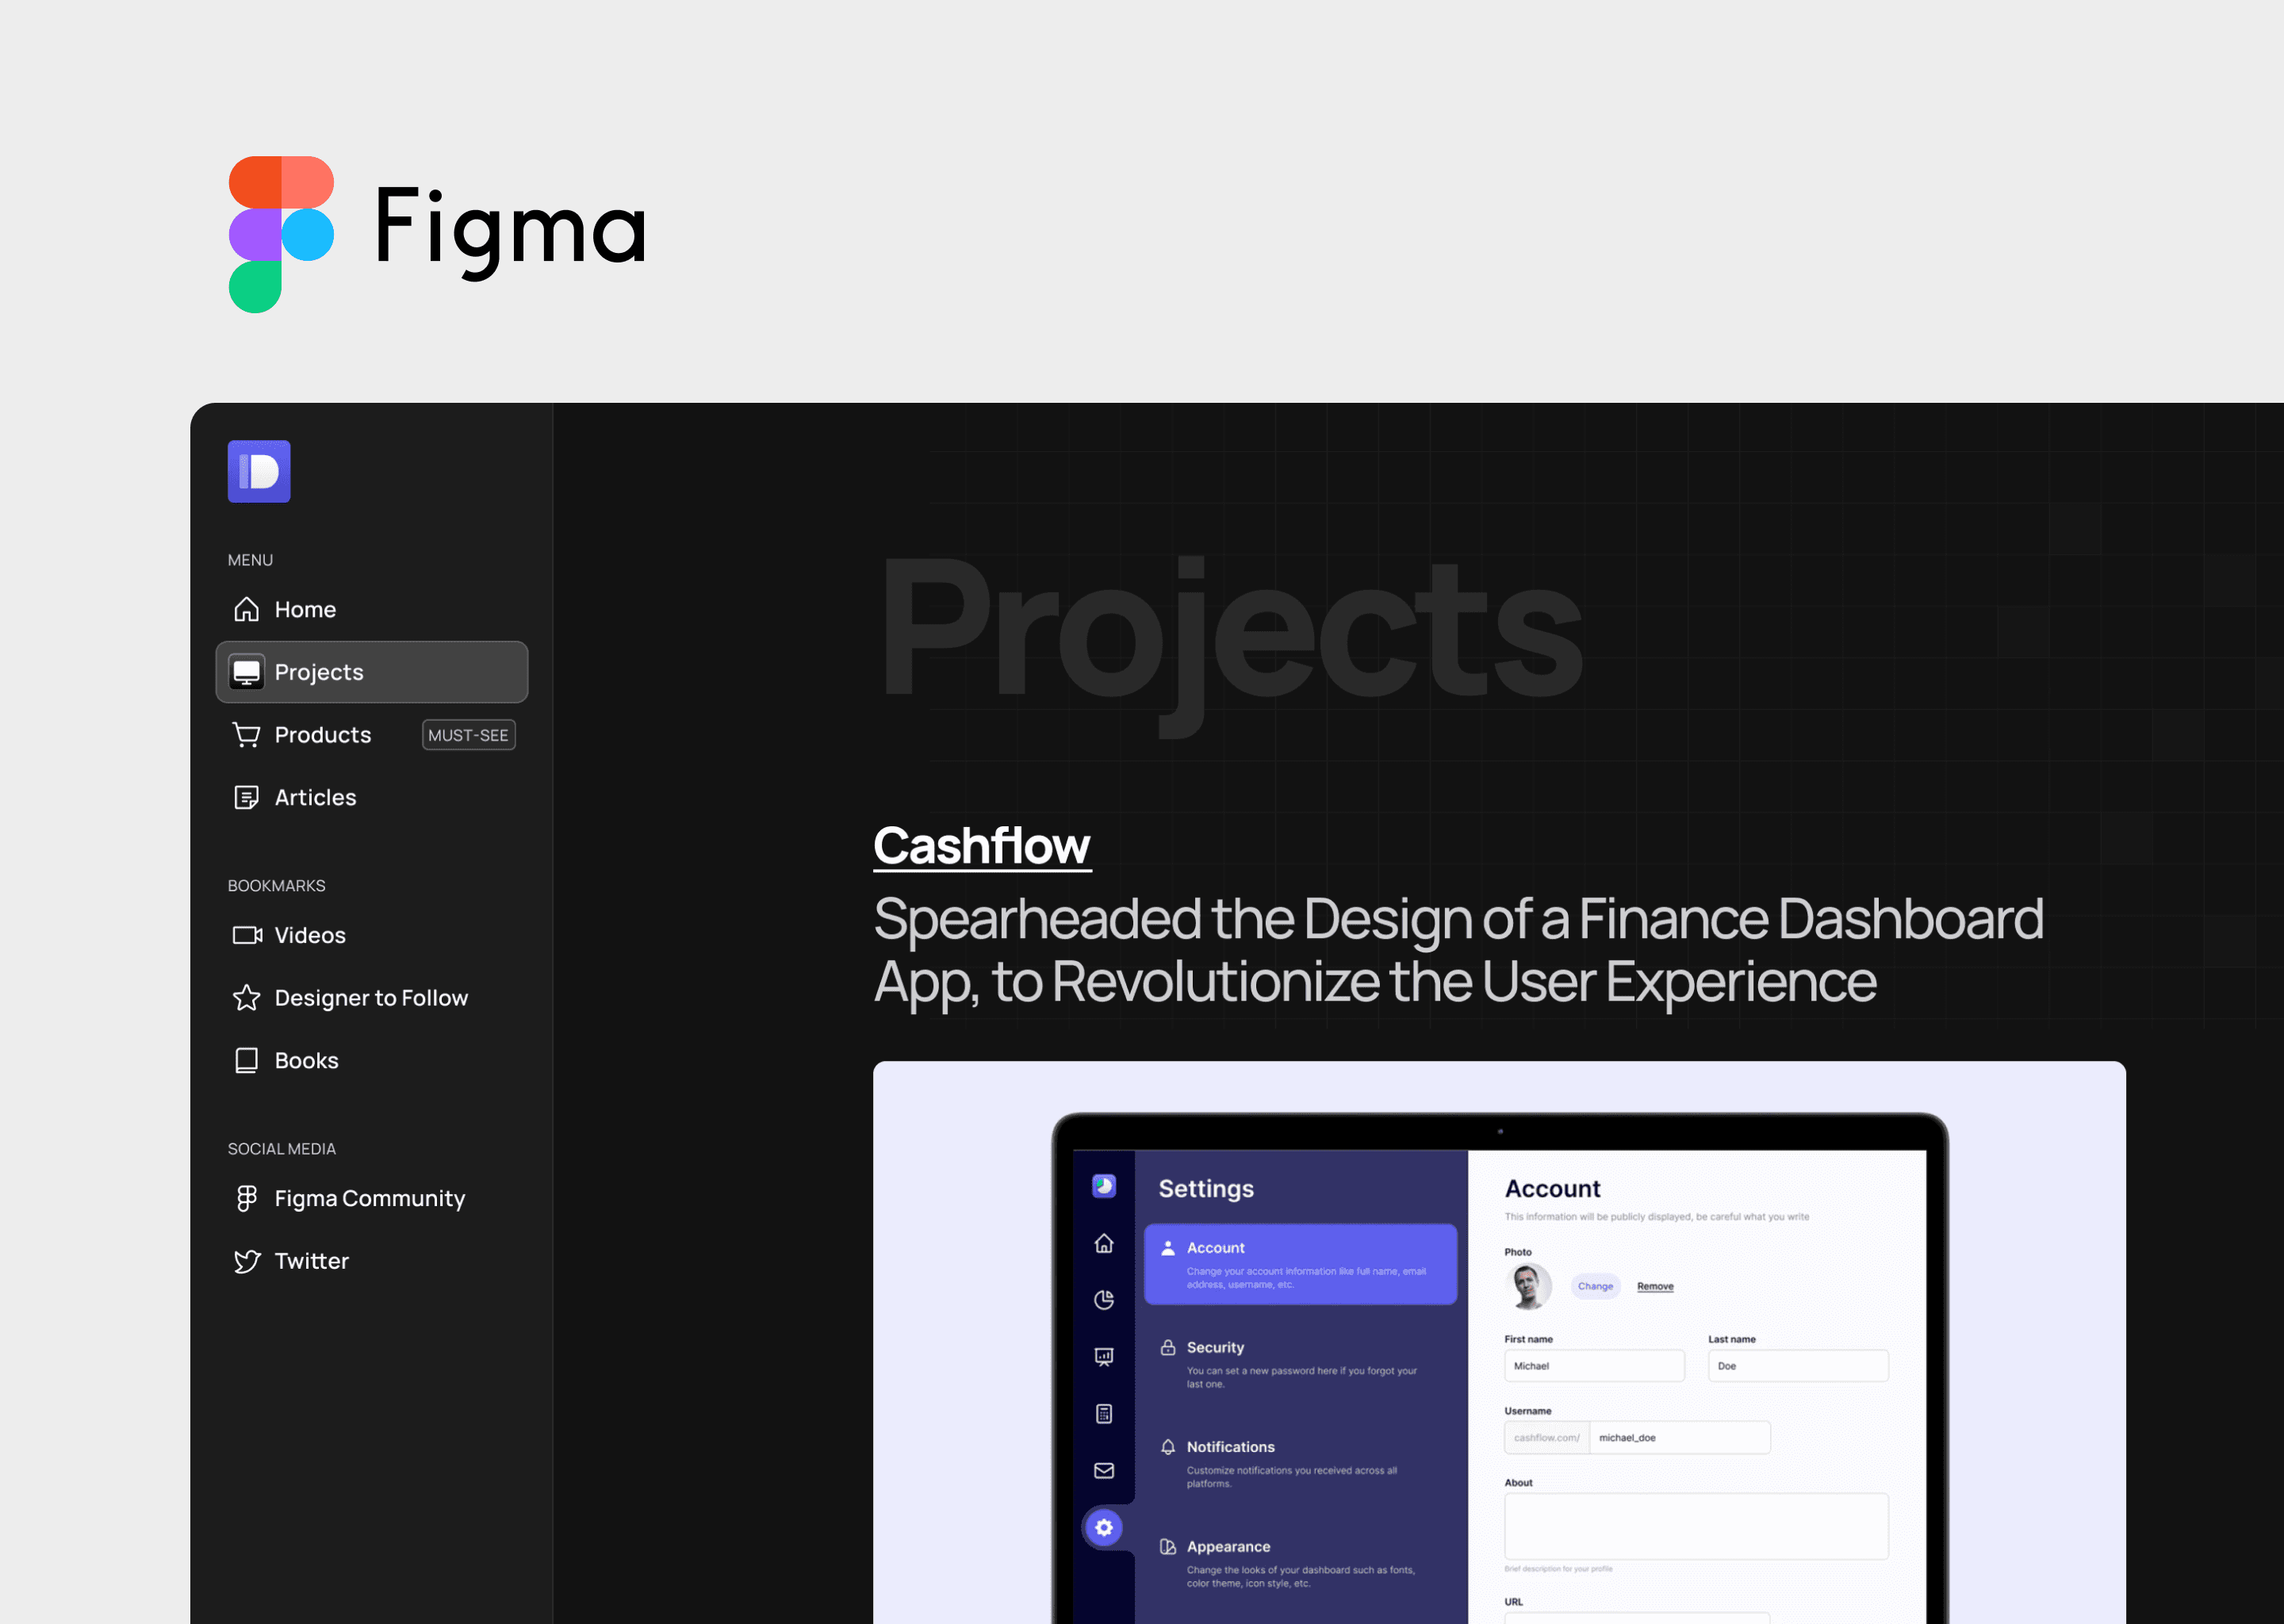
In this tutorial, we’ll explore how to set up and use Framer CMS Collection to create dynamic, content-rich projects.
1. Introduction to Framer CMS Collection
Framer CMS Collection allows you to integrate and manage structured data directly within your design. This makes it perfect for scenarios where content needs to be updated frequently or dynamically generated, such as:
Blogs and News Feeds
Product Catalogs
Portfolio Galleries
User Profiles and Listings
Key Features:
Dynamic Content Management: Easily add, edit, and organize content.
Data Binding: Link CMS data to design elements effortlessly.
Real-time Updates: Changes in the CMS reflect instantly in your project.
Scalability: Suitable for small to large datasets.
2. Setting Up a Framer CMS Collection
To start using the Framer CMS Collection, follow these steps:
Step-by-Step Guide
Open Your Framer Project:
Start by opening an existing project or create a new one in Framer.
Access the CMS Panel:
Click on the CMS icon in the left sidebar to open the CMS panel.
Create a New Collection:
Click on "Add Collection".
Name your collection (e.g., "Blog Posts", "Products", "Gallery Items").
Define Fields for Your Collection:
Add fields that represent the data structure for your content. Common fields include text, images, links, and numbers.
Example fields for a "Blog Posts" collection might be:
Title,Author,Date,Content,Image.
Add Content to Your Collection:
Click "Add Item" to input data into your collection.
Fill in the details for each field in your collection.
3. Connecting the CMS Collection to Your Design
Now that you have your CMS Collection set up, it’s time to connect it to your design elements.
Step-by-Step Guide
Select the Element to Bind:
Click on the design element you want to link with the CMS data (e.g., text box, image placeholder).
Bind CMS Data:
In the right sidebar, under the "Properties" panel, look for the "Data" section.
Click on "Bind to CMS" and select the relevant field from your collection to connect.
Repeat for Other Elements:
Bind other design elements to different fields in the CMS collection as needed.
4. Displaying Dynamic Content
To effectively display content from your CMS Collection, you need to configure how it’s presented in your design.
Binding CMS Data to Design Elements
Loop Through Items:
If you want to display multiple items from your collection, use the "Repeat" feature.
Select the parent container of the elements and set it to repeat for each item in your collection.
Dynamic Text and Images:
Bind text elements to text fields (e.g., title, description) and image elements to image fields (e.g., product image).
Customizing Content Presentation
Style Elements Based on Data:
Use conditional styles to differentiate items based on their data (e.g., highlighting new articles).
Use CMS Data in Interactions:
Integrate CMS data with interactions, such as linking a button to a URL field from your collection.
5. Managing and Updating Content
Once your project is set up with a CMS Collection, managing and updating content is straightforward:
Add New Items:
Use the "Add Item" button in the CMS panel to input new content.
Edit Existing Items:
Click on any item in the CMS list to edit its fields.
Delete Items:
Remove items by selecting them and clicking "Delete".
Reorder Items:
Drag and drop items within the CMS panel to reorder them.
Updates are reflected in real-time in your design, ensuring your content is always up-to-date.
6. Publishing and Sharing Your CMS-Driven Project
After configuring and managing your content, you can publish and share your project:
Publish Your Project:
Click on the "Share" button in the top-right corner.
Select "Publish" to make your project live.
Share the Published Link:
Copy the generated link and share it with your audience to view the dynamic content.
7. Tips for Effective Use of Framer CMS Collection
Plan Your Data Structure: Define clear and consistent fields in your CMS collection to streamline content management.
Leverage Templates: Use pre-built templates or create your own to maintain a consistent design for each CMS item.
Regularly Update Content: Keep your content fresh by regularly adding new items and updating existing ones.
Test Interactions: Ensure all CMS-driven interactions work as expected, especially links and dynamic elements.
Utilize Filtering and Sorting: Use filtering and sorting options to display CMS content in meaningful ways, such as showing the latest items first.
8. Conclusion
Framer CMS Collection is a powerful tool for managing and displaying dynamic content in your projects. By setting up a collection, binding data to your design, and customizing the presentation, you can create engaging, data-driven experiences. Whether you're building a blog, a product catalog, or a portfolio, Framer CMS makes it easy to keep your content dynamic and up-to-date.